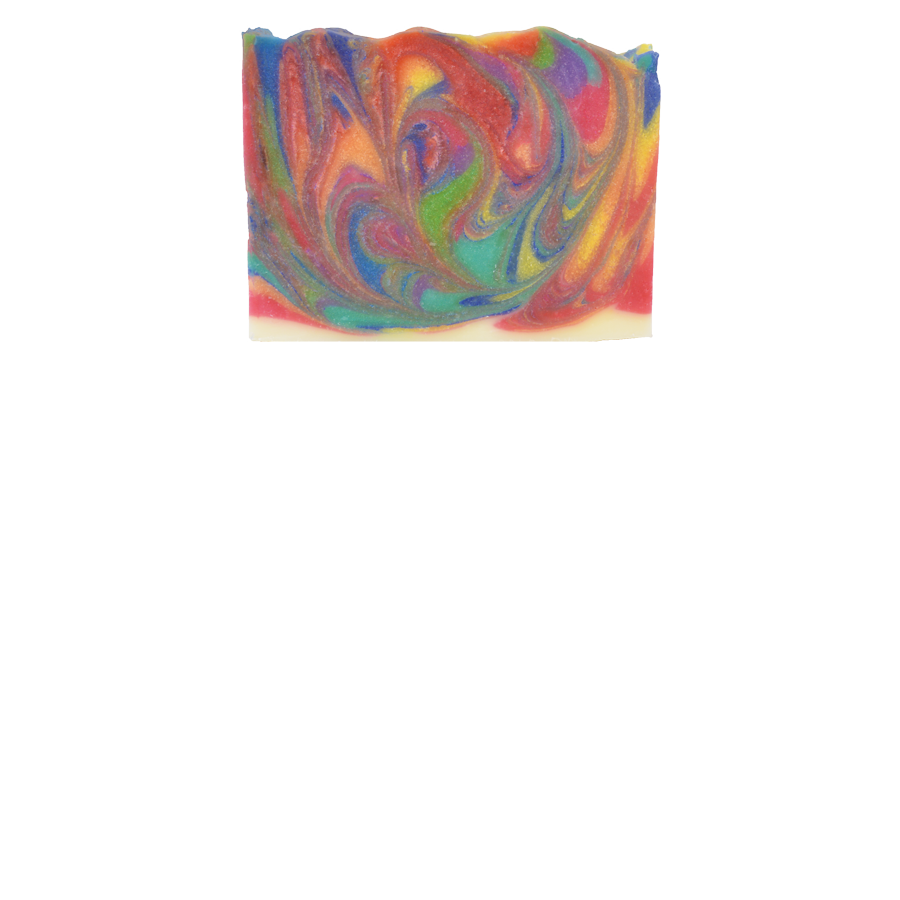
We love the new Crafter’s Choice NuTone colors and knew we had to use them in a swirl design. We chose to use all ten of them in a “spoon swirl” technique. A spoon swirl can be done with only two or three colors, or any number you’re brave enough to attempt. Follow along with this tutorial for our tips!
1. The first step is to choose a slow-moving recipe and fragrance oil. The more colors you decide to include in your design, the more time you will want to have to work with the soap batter. In our design we used a recipe with 60% liquid oils and the full water amount. We added sodium lactate to help with unmolding, and chose Crafter’s Choice Fruit Loops fragrance oil. If you add a fragrance or essential oil, be sure to choose something that will allow plenty of time for your swirl.
2. Next you will want to prepare your colorants. Our swirl contains eleven colors, ten colored by NuTone powder colors and one colored by the natural color of the soap. We mixed each color in a separate funnel pitcher with a small amount of our melted oils. We also divided our fragrance oil evenly and added it to each color, this allowed us a little more time to work with the batter before our swirl. Depending on how much of each color you plan to use in your final design, it can be very helpful to calculate the amount of batter ahead of time. In our design we divided our total amount (lye, water and oils) by eleven, for each color we were going to include in the swirl.
3. When the temperature was around 110ºF we started mixing our soap batter. We only mixed to a very light trace, then using a scale we measured the batter into each premixed color. We hand mixed each color with a spatula to avoid accelerating trace, and then used the stick blender for a few short pulses to be sure our fragrance and color was incorporated.
4. When the soap batter is at a medium trace you can begin pouring it into the mold. We tried to pair contrasting colors next to each other and poured about half of the batter for each color at a time. We poured each color in one or two lines the length of the mold and continued repeating until all of our batter was used. Be sure to tap the mold down between layers to avoid unwanted air bubbles!
5. When all of your colors are in the mold, you can create your spoon swirl. Start by inserting the spoon at one corner of the soap mold. Spin the spoon in a circular motion, turning over the different layers of color in the soap mold. Pull the spoon out and continue this same motion throughout the entire loaf. Be careful that you do not over-swirl the soap! If you swirl in too many areas or too much in one spot, the colors can blend together and become muddled. The goal is to create a swirl of color without blending them together. When you are satisfied with the swirl, texture the top however you want. With this technique each swirl is so unique you’ll be pleasantly surprised when you see your final bars!
Here is our final result!

| Question + Answer. Here you can ask or answer questions All questions are queued and answered quickly during business hrs. You can also answer questions posted by other customers if you have valuable information. |
 |
0 Question(s) Shown Below |
No items listed at this time, please check back often as we are adding kits/items everyday.
|